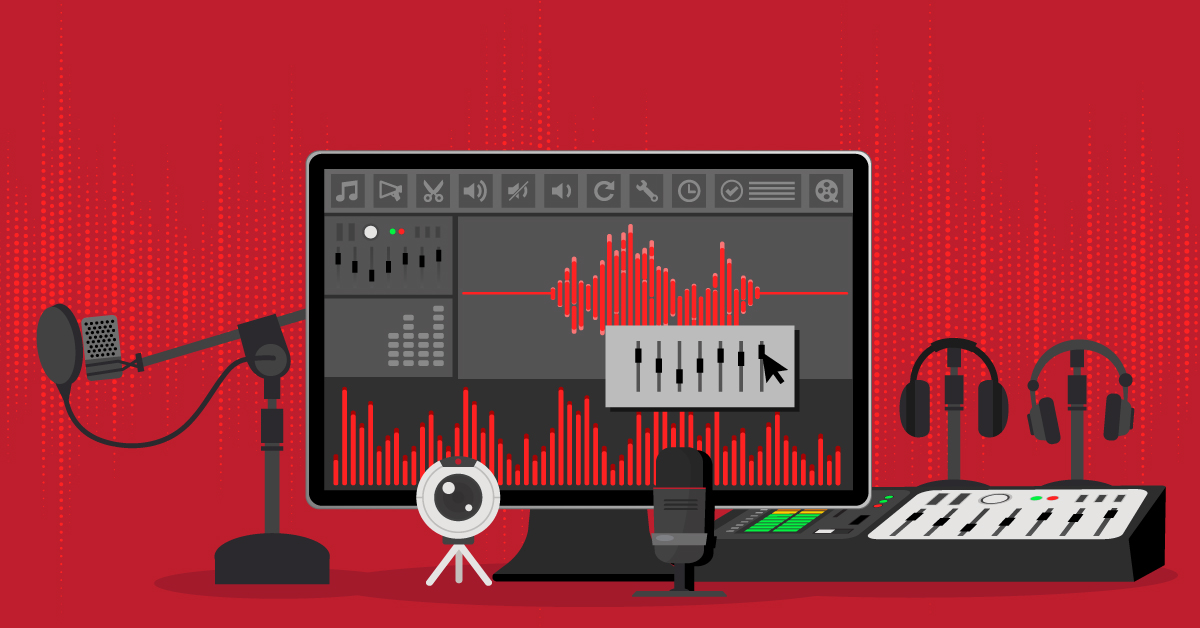
Podcast Equipment Recommendations For Getting Started and What We Use To Produce The Email Marketing Show
We get a lot of questions about the equipment needed to get started podcasting, and about what kit we use. So here's the craic.
Over the years of having 4 podcasts we have refined the equipment and learned a lot about what's needed and what's not. First of all let's look at some ‘getting started as cheaply as possible' options.
Low Cost Podcasting Equipment To Get You Started
These recommendations are going to give you a good enough show to get started without having to borrow from your rainy day fund. There's some BIG podcasts who have used this equipment, so the quality is certainly more than good enough for anyone.
MICROPHONE
Please don't use your headphones or your built-in mic on your laptop. People have to listen to podcasts. So respect their ears.
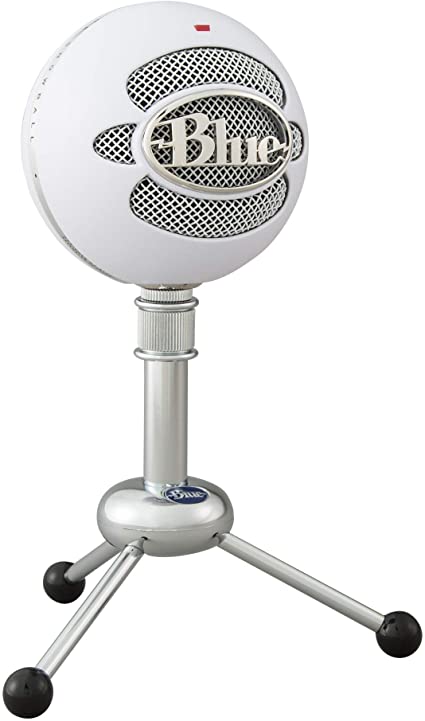
The Blue Snowball. This is a mighty mic that some big podcasts have grown on. Really simple to use and plugs directly into your computer or laptop with USD.
MICROPHONE
The Blue Snowball
This is still the king of balancing affordable with amazing quality.
Please don't use your headphones or your built-in mic on your laptop. People have to listen to podcasts. So respect their ears.
The Blue Snowball. This is a mighty mic that some big podcasts have grown on. Really simple to use and plugs directly into your computer or laptop with USB.
It's less than $100/$100
EDITING
Audacity. It's free and available to download here.
This open source software is still one of the most-used platforms for editing your podcast.
Add music, edit out your ‘ums' and your ‘ahs' and all that jazz.
HOSTING AND DISTRIBUTION
We love Captivate.fm.
Smart, affordable and great analytic data so you can track your downloads and most popular episodes.
Plus it's pretty (unlike a lot of podcast hosting solutions).
We'd recommend against free podcasting solutions because that can leave you in all kinds of trouble including your content being re-used without your permission, ads being inserted into your shows and other things that will stop people wanting to listen to your show.

ADD VIDEO?
If you're going to record a podcast, you may as well record a video of yourself doing it and use that to promote the episode and reach more people.
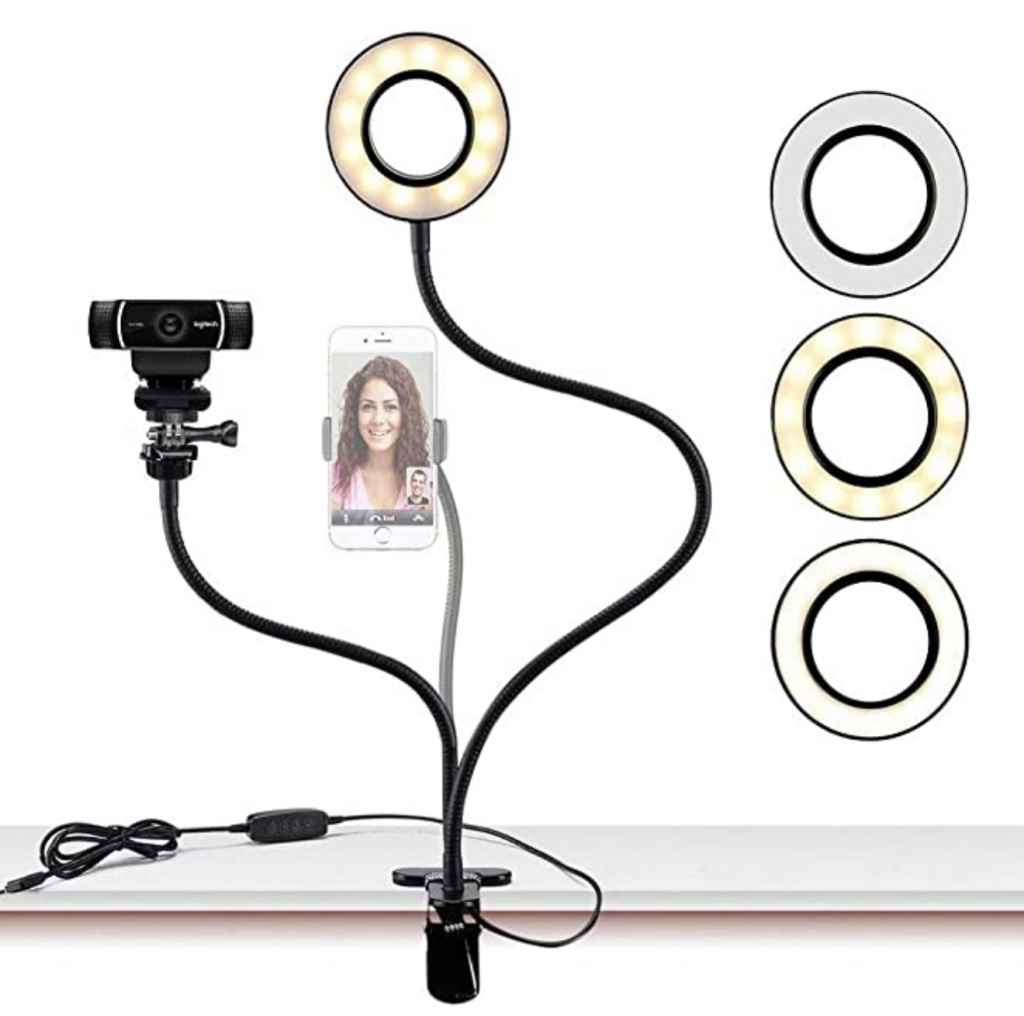
We played around with so many cameras before realising that the real thing that makes a video look good (or bad) is the lighting. You can use the web cam built into your computer or laptop, but you'll seriously boost how you look if you add a bit of simple lighting.
RING LIGHT
Get a nice even light on your face that makes your eyes pop and removes those shadows under your chin.
With one of these, you'll instantly improve how good your video looks.
What We Use
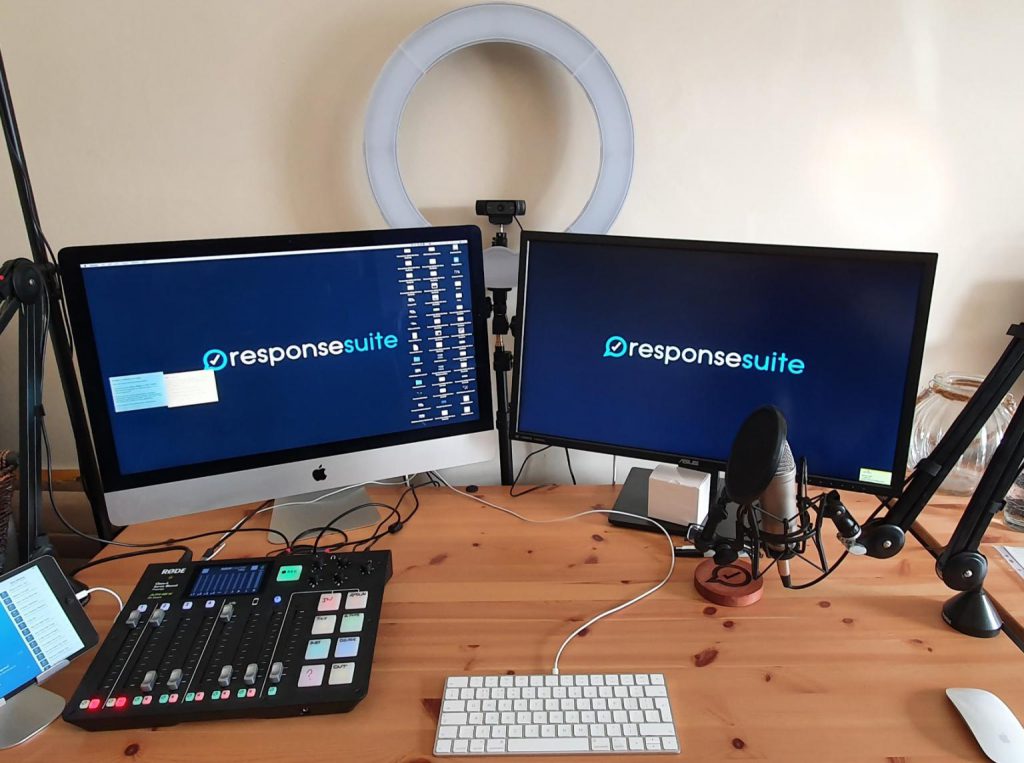
Here is the tech stack of what we use for our show. Keep in mind that our situation may be different to most in that we have 2-hosts for our show so we need 2 microphones.
MICROPHONES
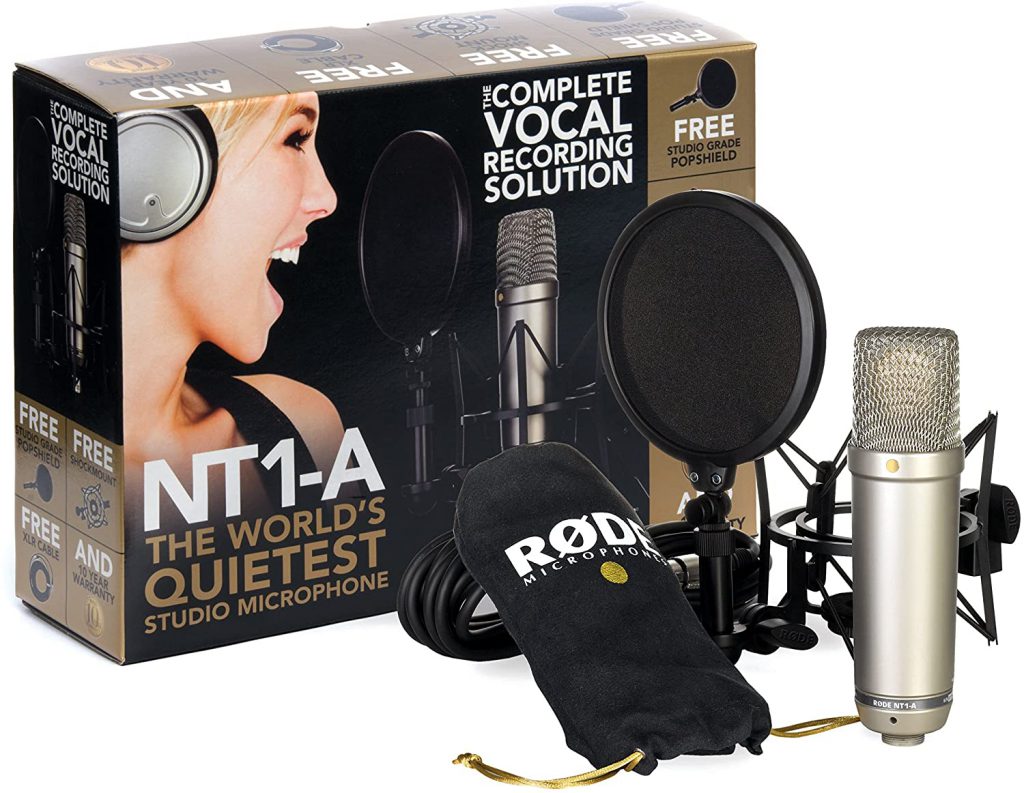
Rode NT1-A
We have 2 of these (one each). They have a really nice directional pick-up and a warm sound.
These mics plug in via a 3-pin XLR connection – not a USB. This is because we plug these into the Rodecaster Pro – which we'll talk about next.
These are amazing quality and are just £149.
A nice alternative is Rode NT1-USB which is a fabulous quality mic that will connect direct to your computer via USB. And at just £125 that's pretty snazzy. Check it out/buy it here.
MIXING DESK
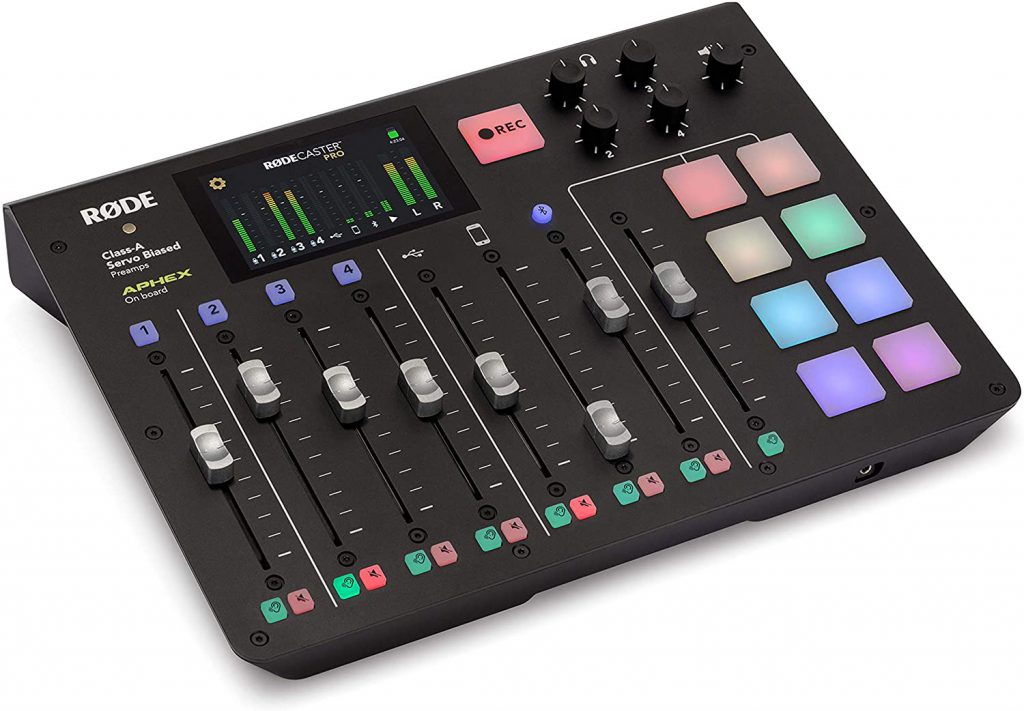
One of the best things we ever did was add a mixing desk to our set up.
Using the Rodecaser Pro we load the jingles onto these ‘hot keys' and record the whole show in one, straight go without needed to edit.
Guests love that they hear the jingles and intro track being played.
Plus you can connect it to your phone via USB to play soundbites.
Most importantly, you can control the volume of each mic and input source to end up with a nicely balanced episode.
For £545 we eliminated having to hire an editor for our podcast so it quickly paid for itself.
WEBCAM
We capture the video of us recording the episodes – after all, we may as well.
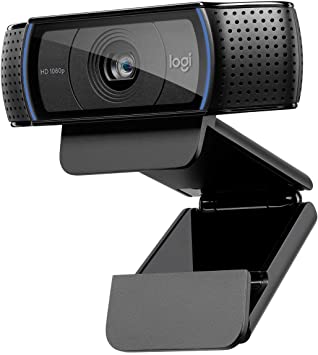
We really love the Logitech c920.
It's a simple USB web cam for around £75.
Check out the Logitech c920 here.
To make it look even better we use an app for the Mac called Webcam Settings. This allows you to zoom, pan and tilt the web cam – and to play with colour, white balance, frame rate, exposure etc.
So you can remove flickering, crop in and make yourself look good.
LIGHTING
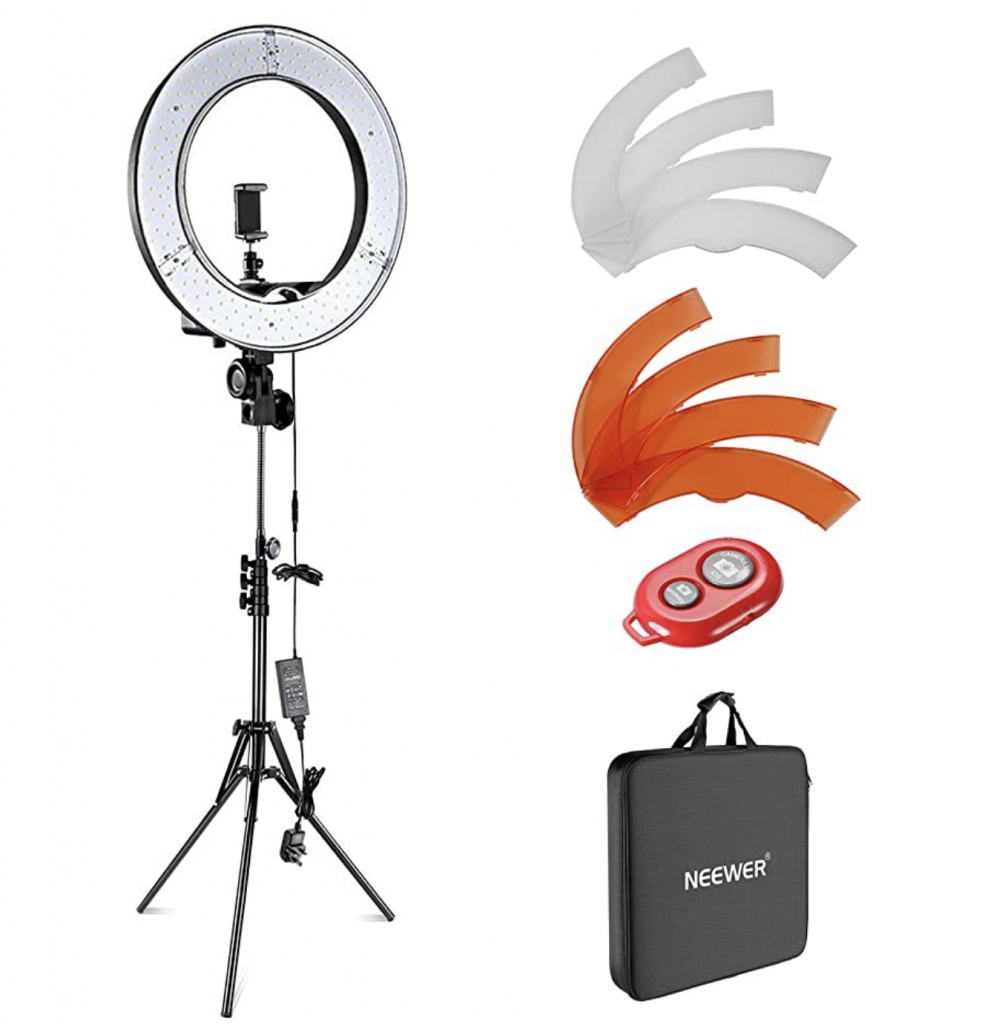
We use two lights to get the textured look and make the footage look better.
The first is a ring light. We mount the webcam (Logitech c920 mentioned above) in the ring light.
This ring light is on a tripod that stands on the floor behind the desk.
It's just £65.99 and has a nice carry case and 2 different light defusers you can clip on. We just use the standard white ones.
Hair/Key Light
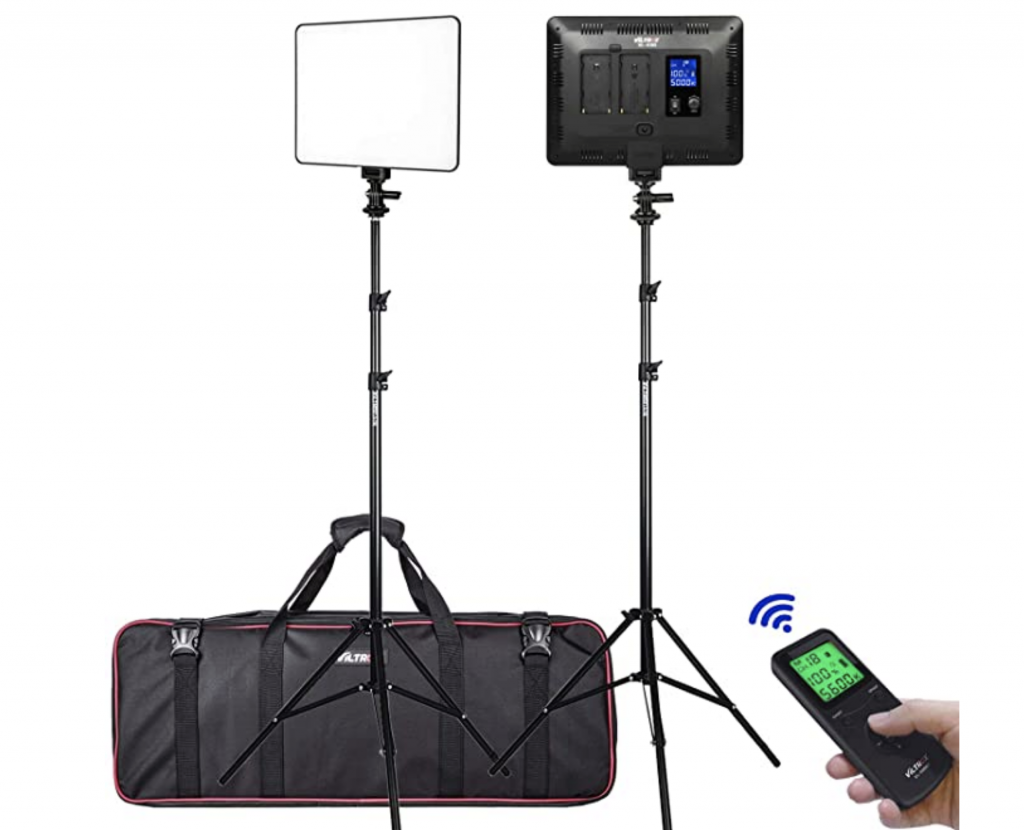
To give us a more 3-D feel on video where we pop off the background we recently added this additonal flat-panel LED light.
The floor-standing tripod is extended pretty high up so it lights the top of our heads to give is a bit of a directional light source and make us really pop.
We have the Voltrox dimmable VED lighting kit.
There's two in the case for £135. Check it out/buy it here.
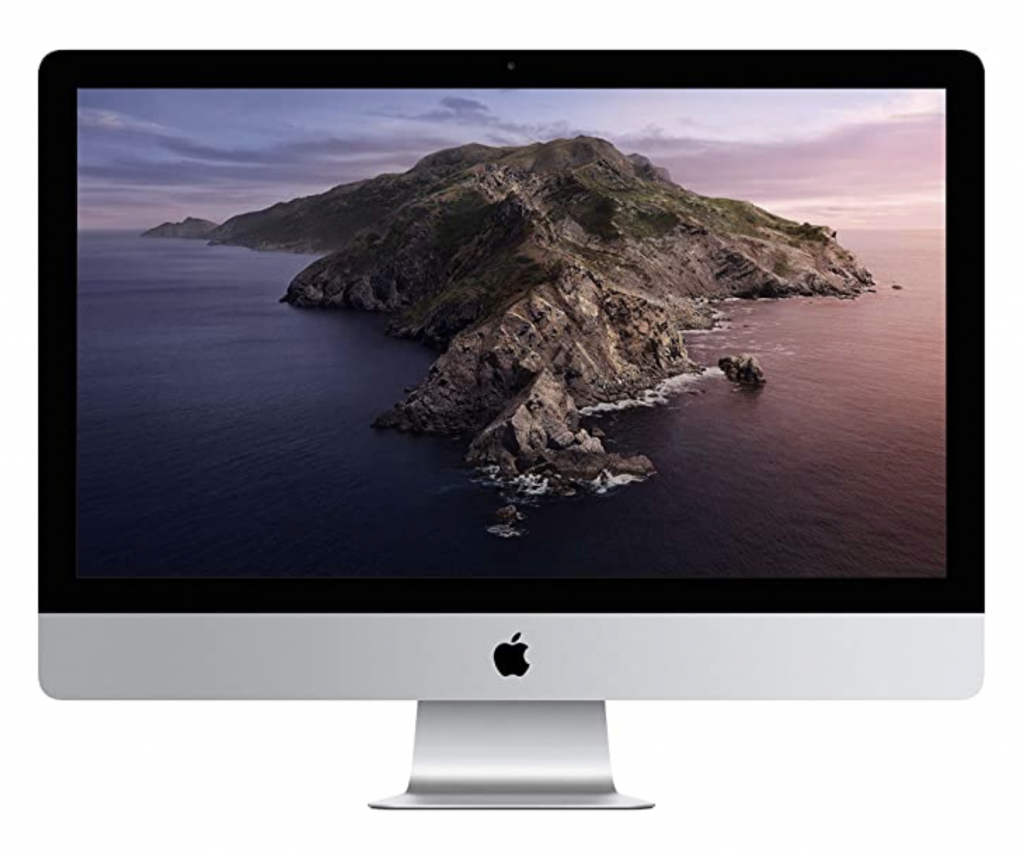
Computer – 27 Inch iMac
The computer we use is a 27 inch iMac which handles the audio files very nicely.
I have maxed out it's RAM ports to 32gig of RAM and added a low cost second monitor to give me a little more space for projects.
Hear this kit in action, learn how to make more of your email marketing and get some new campaigns – listen to our podcast, The Email Marketing Show.


